Water painting table top
Back story
My girlfriend has started doing some water color painting and has been doing it on the kitchen table. I don’t mind, I just think she’d be more comfortable working at an angle, so I thought I’d make something comfortable and portable to work with.
For this project, I used:
Tools
Materials
| Qty | Material |
|---|---|
| - | Plywood – 1/2″ – 4 x 8 (D Grade) |
| - | 2 x 2 – 8-foot |
| - | 1 x 2 – 8-foot |
How I went about it
-
Cut to size
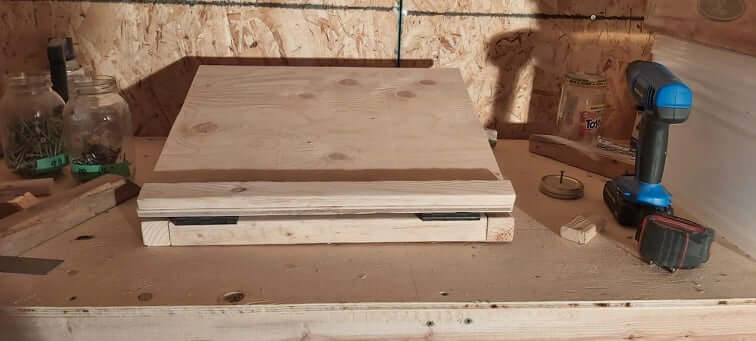
I started by cutting all my pieces to size and sanded them down really nice and smooth.
-
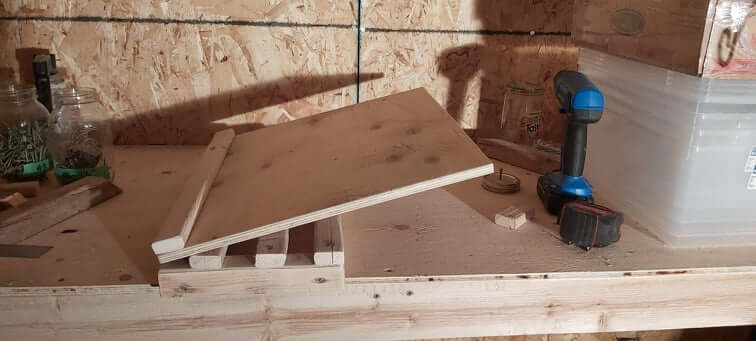
Build the base
Next, I built the base by putting screws into each end of the 1 x 2 into the 2 x 2 pieces on both sides. I spaced them out somewhat equally. I finished the base by adding the remaining 2 x 2 pieces along the insides. I then screwed the hinges to the top and secured it to the base.
-
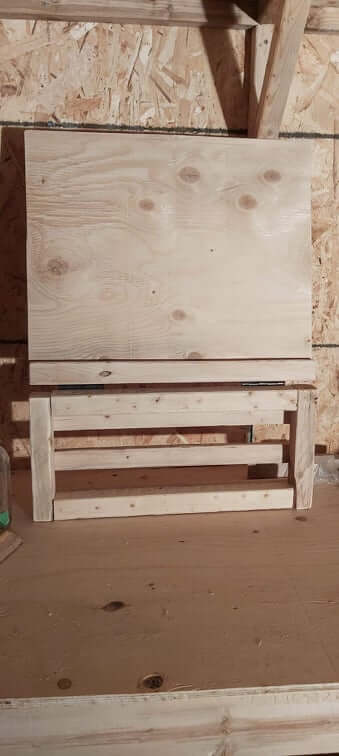
Finishing touches
Once completed, I found a piece of 1 x 2 and added it to the bottom just to hold her paper into place. I screwed it from the back.
Key takeaway
-
Broken pieces
I break a lot of pieces of wood which gets me a little disappointed and a little frustrated. However, I’m thinking a little project like this should be stained or something, although considering the use of the project, it may be a good thing that I didn’t go through with it.