Outdoor kitchen island
Back story
To me, there’s nothing like spending the summer outside. Granted, I don’t do it nearly enough, especially given the short summers we have, but whatever time I do spend outside, I wanted to make it better. Our backyard has a large terrace and I wanted to spend as much time outside as possible, so I came up with some small objectives for my (ambitious) build:
- Space for a cooler to store drinks and keep any food cold before dinner;
- A counter-top to prepare food;
- Both a trash can and a recycling bin;
- Casters so I could move it around if needed.
Mind you, I’ve never done any of this, so calling this an 8/10 is really underselling how hard I made it, but probably being harder on the project than it really is. But hey, I’ve only been woodworking for about 2 or 3 months, and only on my free time, so I guess it’s all relative.
Disclaimer: The project was done with wood purchased before the Covid-19 pandemic, so wood prices were considerably lower. At the time of writing this, prices have nearly doubled and are expected to rise much more. I hope it doesn’t because this is truly something I enjoy doing and hope to do much more in the upcoming weeks and months!
For this project, I used:
Tools
Materials
| Qty | Material |
|---|---|
| - | Plywood – 1/2″ – 4 x 8 (D Grade) |
| - | 2 x 4 – 8-foot |
How I went about it
-
Cut the pieces
- Spruce
- 1 x 6
- 54″: 6 pieces
- 18″: 12 pieces
- 30″: 6 pieces
- 24″: 6 pieces
- 2 x 2
- 54″: 6 pieces
- 34″: 6 pieces
- 15″: 4 pieces
- 1 x 6
- 1/2″ Plywood
- 18″ x 54″: 1 piece
- 20″ x 60″: 1 piece
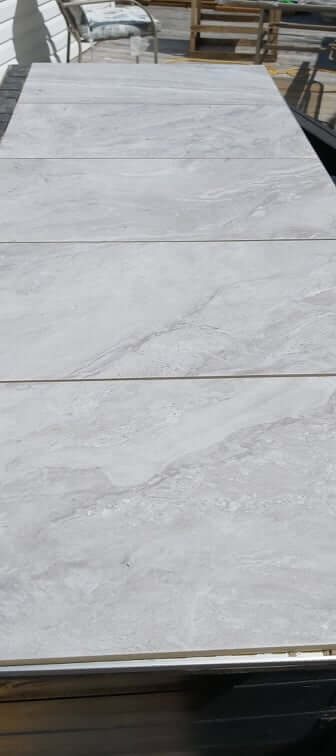
- Ceramic tiles (12″ x 24″): 1 piece
Note: Other cuts have been made for extras (such as the trash can drawer) but I did not take notes about those exact dimensions, so these are not entirely reliable measures.
- Spruce
-
Main furniture
I started building the sides as these were small parts I knew I could handle easily. I cut down my 12 pieces to length. ThenI took the first half and spread them evenly. To have consistent spacing, I placed a popsicle stick between my pieces as I screwed them into place onto a 2 x 2. When I got to the last piece, I marked down the total height and cut my 2 x 2 before putting my last piece in place. I did the same process on the other side. I cut down 2 pieces of 2 x 2 to about 15 inches and placed them on the top of the first and bottom of the last board. These will be used to screw in the top and base. I repeated everything for the second side.
The back was quite easy as all I had to do was attach a long board flush from end to end and hold my sides together. As I did with the sides, I added a piece of 2 x 2 to the top and bottom pieces as well. At this point, everything held together. Words could not describe how happy I was, at this point.
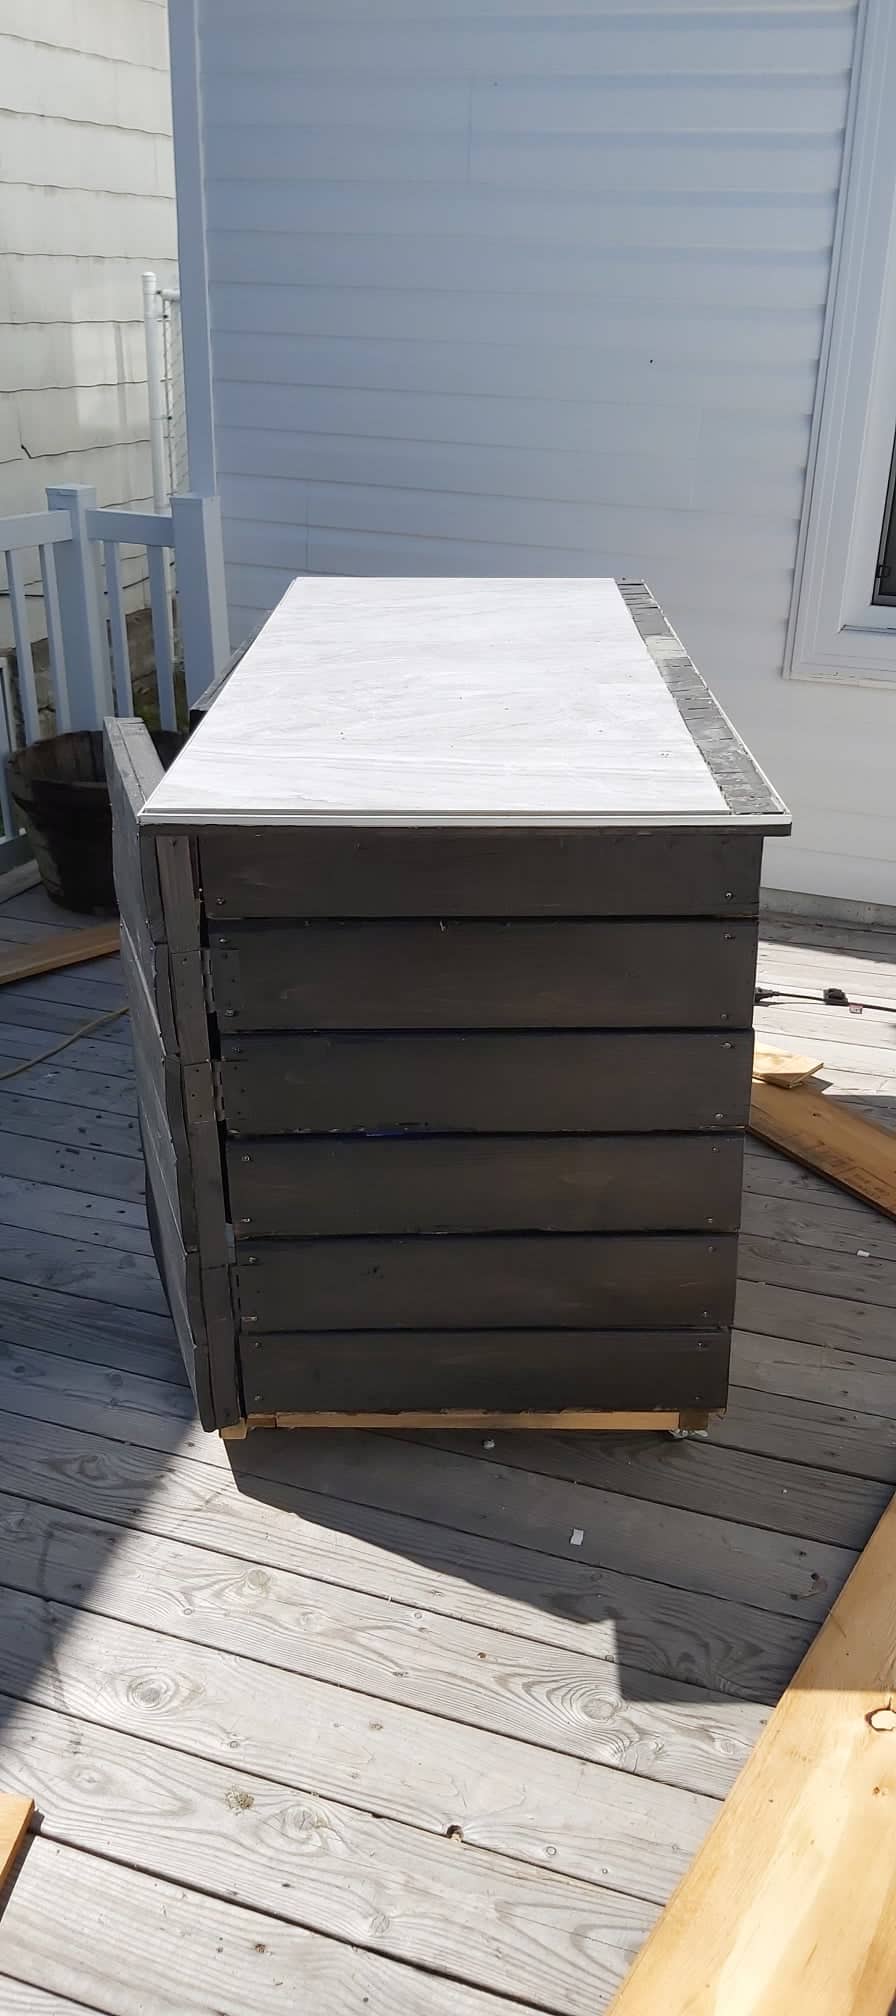
As a pile of wood started to look like something more useful, I secured in place what would be the base of the whole structure. I flipped it all over so there would be a base and added the top. I wanted it to be a few inches inches wider on 3 sides and front, leaving the back flush. This would allow to have some support on either side to move it around as well as look nice. The other main reason I wanted that was so I could have large ceramic tiles on top to serve as a counter top, and having purchased those before starting the build, it was the simplest solution.
I then put my cooler inside and made sure I had proper dimensions to allow me to take it out easily to add ice or remove the water from it after use. I added a piece of 2 x 2 after the piece to server as a stopper for my doors. That turned out to be about 30 inches so I built my door the same way I built my sides. The other 24″ or so of the structure was made as another door. I built a small drawer to easily take out the trash using some scraps of 2 x 2 and plywood. Once it was built, I added some drawer slides to make everything work nice and smooth.
Once everything was in place, I flipped it all to the side and added casters, which I think I could have done when I screwed the plywood base in earlier. The extra weight of the doors and drawer made it harder to flip over on my own.
-
Top
I screwed in some aluminum tile edge around the structure to keep my tiles and grout into place. The hardest task yet was now up. I don’t exactly know how I got around to doing this part, frankly (I think I was just lucky to get it mixed up, to be honest!) but I somehow managed to secure my tiles in place. At the back of the counter top, I added some smaller 2-inch square tiles to give it a more finished look. I should have measured better because my spacing is off and inconsistent, but this is my first build, and it’s for personal use outside in my own backyard, not a commercial product, so I don’t really care about it. (I’m trying to convince myself, here, cut me some slack!)
-
Finishing touches
At the top of my list, I wanted it to have a nice dark look so I sanded it down and my girlfriend offered to take care of the staining process. I chose to go with black, which looks really nice. Only one coat may have had more of the wood grain showing, but I really wanted a dark look so she applied a second coat. I ordered a bottle opener off Amazon and attached it to the side.
Key takeaway
-
I really like this
It’s really not all that bad, especially considering my skill level at this point, but it’s not Pinterest quality, let’s just leave it at that. Overall, I am quite proud of the work I’ve done, here. This project has just made one thing really clear to me: this is something I want to do. I’m not saying this is a career path for me, not at all what I’m saying. However, there’s a lot for me to learn here and so much more I want to do now. Can’t wait to get onto a new project!