Reclaimed white oak wine table
Back story
I wasn’t done building my Gibson Firebird V table from reclaimed white oak that I knew I wanted to build another table. My mother-in-law really liked the first table I built so I thought I’d make one for her to bring to the cottage and enjoy.
For this project, I used:
Tools
Materials
| Qty | Material |
|---|---|
| - | Cutting Board Oil |
| - | Titebond III |
How I went about it
-
Templating
The glued panels from this project had plenty of left overs that I could skip this part of the project and move directly into the fun part. Using Adobe Illustrator, I traced out what I thought would be a really interesting design for my wine table and traced it out on paper to make sure I liked the dimensions before going any further.
-
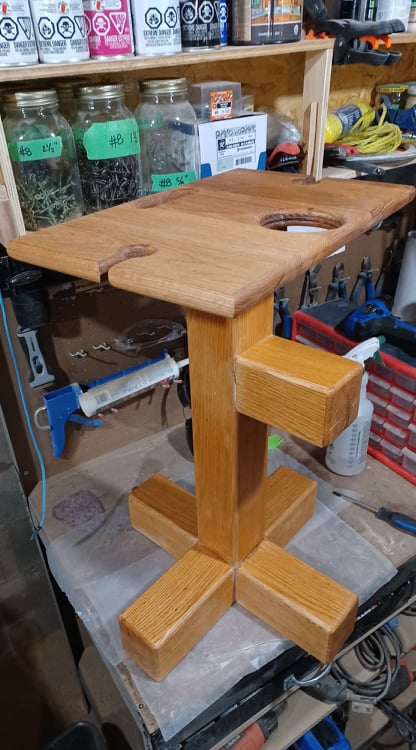
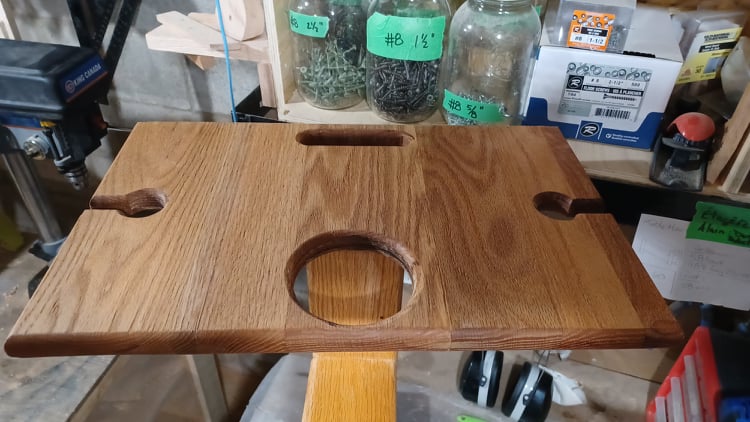
Table top
Under the advice of my girlfriend, I switched the oval for a rectangular shape. After all, she does know what her mother likes, so I didn’t argue there.
With lots of lines, I located the center in both directions and mapped out where I wanted to place my cut outs. I used a 5/8″ wide spade bit on the drill press to mark out the holes for the handle and used both a 1 1/2″ and 3″ wide hole saw to bits for the bottle holder and the wine glasses to sit in place. Using the jigsaw, I cut the place between both ends of the handle and on both ends to cut out the insert for the wine glasses to pass by.
Note: Yes, this is a bone you see — I originally wanted to create a dog feeder but I since have learned that oak is a little too porous for food, and if it isn’t safe for me, I wouldn’t give it to my dog, either.
-
Legs
Since I was not satisfied with the first leg — and didn’t really like the fact my table saw wasn’t level — I had to go back (it was already glued up, after all!)
Version 1
The original table leg was… sketchy (trying not to say terrible). I started with a half lap and cut a mortise and tenon to hold my leg up right. It was a mixture of unsquare, not solid and not something I thought was good enough to give away.
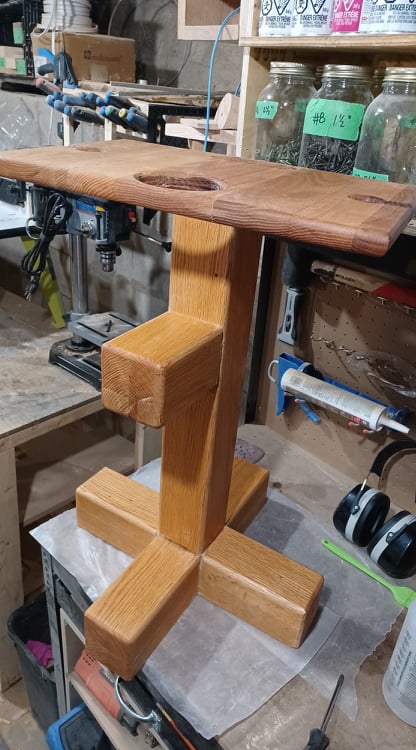
Version 2
I started with the leg and cut a castle by removing the middle third in both directions of an end. I finished the cuts’ thickness to match the height of my base support. Then, I cut a half lap to keep the legs together. Once that was done, I shaved down both sides of the workpieces to get the width of the middle third I cut down earlier with a piece on either side holding everything together.
-
Oil it up
I sanded everything down with 80 and 120 grit. I also sanded down the top to 220. I then went ahead with my final glue up.
I oiled up everything using my cutting board oil.
Key takeaway
-
Trust, but verify
- Make sure everything is square every time you start a project. Not because it looks or it should be square that it truly is. Nothing beats square and plum like square and plum.
- Don’t glue up until everything is perfect. Nothing beats a dry fit.
- Don’t trust measures, trust the lumber. This one is important. Even though something should be 1″ doesn’t mean it is. Especially when trying to get a snug fit, let the work pieces determine the dimensions, not what the workpiece should be.